I decided to do a partly knitted top with fluttered dress length plus a matching bloomer. When making the top, I cut 4 pieces. One set is for the lining. I also cut a knit only for the front of the shirt. I decided to use curtain material I had bought from the fabric store. I start by attaching the lining front to the back lining together. I did the same with the outside but added the knit. I then attach the lining and the outside together at the neck area and down the back opening where the buttons will go. I don’t close the arms until I attach the knit sleeves.
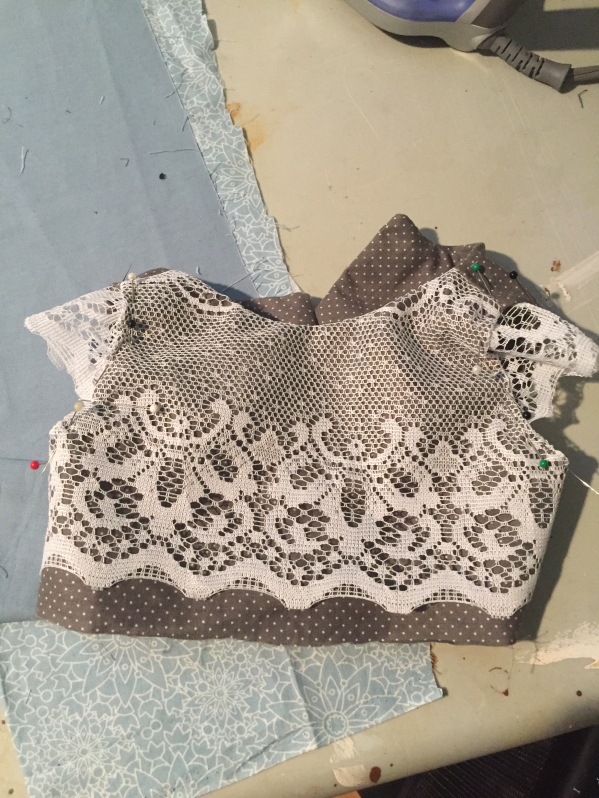
Once the knitted arm is in place and pinned I sew it together. Both the lining and outer part of sleeve is evenly pinned.

I attach the front to the back bloomer, stitching at the sides. I accidentally closed the crotch area then realized I had to take it apart because I had to make bias tape for the elastic around leg. Setting it aside for now.

Moving on to the ruffle skirt that will eventually be attached to the shirt, I adjust the tension so that the fabric ruffles as I sew.

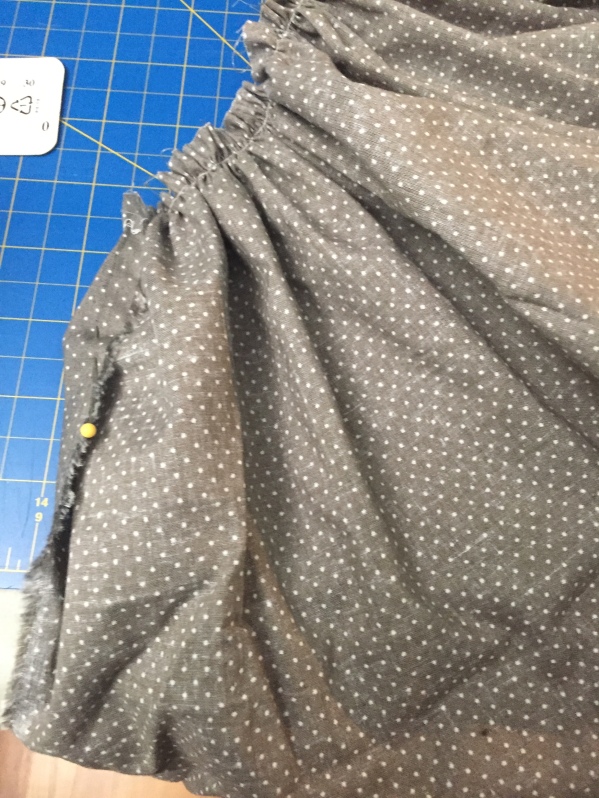
I pin each end before I attach it to the top.

Before I can attach the flutter to the top, I need to iron a fold on the top.
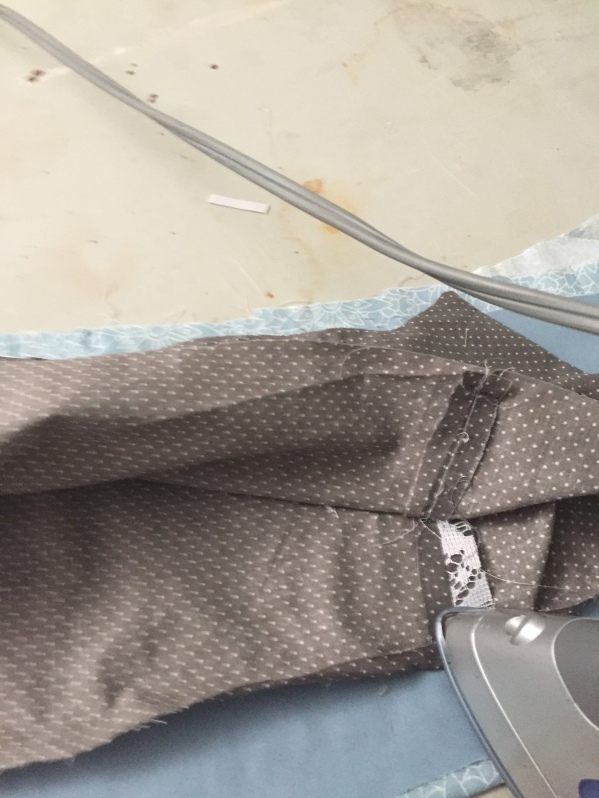
The lining also needs to be pressed even to the outside.

Check before pinning the flutter between that it is perfect. If it is easier, you can sew the flutter to the lining. Then fold the top front to the lining with the flutter between.

This is evenly pressed.

Once pinned, I will sew it along the pinned line.

Pins are removed as I sew. I then sew the skirt closed but stop 3/4 of the way so there is a slit at the back.

The photo of the back of the dress shows the opening from the top extending 1/4 down the fluttered part of the dress. This will give enough room for slipping baby into dress.


Finally, bloomer done! Buttons on!

You must be logged in to post a comment.